
From Rod to Riches: Understanding the Creation of Custom Cabinet Hardware
Cabinet hardware is an essential element in any kitchen or bathroom renovation project, as it not only serves a functional purpose but also contributes to the overall design aesthetic. While there are many options available in the market, custom hardware has become increasingly popular for those who want a truly unique and high-end look for their cabinets. One of the most common materials used for custom hardware is a rod, but how does it go from a simple piece of metal to a beautiful piece of cabinet hardware? In this blog post, we will delve into the process of creating custom cabinet hardware from a rod.
Step 1: Design
The first step in the creation of custom cabinet hardware from a rod is the design phase. This is where the designer decides on the shape, size, and style of the hardware. The designer will take into consideration the existing design elements in the space, such as the cabinets, countertops, and flooring, to ensure that the hardware complements the overall aesthetic. In addition, the designer will consider the functionality of the hardware and make sure that it will work well with the cabinets.
Step 2: Cutting
Once the design has been established, the next step is to cut the rod to the desired length. This is typically done using a metal cutting saw or a CNC machine. The CNC machine is programmed to precisely cut the rod to the exact specifications of the design, ensuring that each piece is exactly the same.
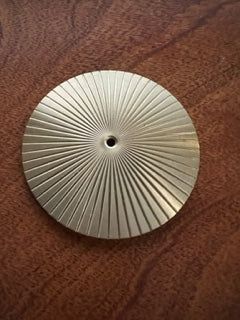
Step 3: Shaping
After the cutting step, the rod is shaped into the desired form. This can be done using a variety of tools, such as a forging machine, a hydraulic press, or a metal spinning lathe. The process of shaping the rod can be complex, as it requires a high level of skill and precision to create the desired shape.
Step 4: Finishing
Once the rod has been shaped into its final form, the next step is to finish it. This involves polishing the metal to remove any rough spots or marks left by the shaping process. It also involves adding a protective coating to prevent the metal from rusting or tarnishing. This coating can be a simple clear coat, or it can be a more decorative finish, such as brushed nickel or polished chrome.
Step 5: Assembly
The final step in the creation of custom cabinet hardware from a rod is the assembly process. This involves attaching any necessary components, such as screws or hinges, to the hardware. The hardware is then thoroughly tested to ensure that it is functioning properly and is ready for installation.
Conclusion:
Creating custom cabinet hardware from a rod is a complex and intricate process that requires a high level of skill and precision. The end result, however, is a beautiful and functional piece of hardware that adds a touch of elegance to any kitchen or bathroom. Whether you are a designer or a home enthusiast, custom cabinet hardware is a great way to make your cabinets stand out and showcase your personal style.